A step-by-step guide to creating an augmented reality face-tracking application using XCode


In the landscape of new technologies that are capable of revolutionizing our daily lives, few of them, are related to facial recognition technologies. This tutorial will be covering the step-by-step guide to create a face-tracking application using XCode.
Create a Project in XCode
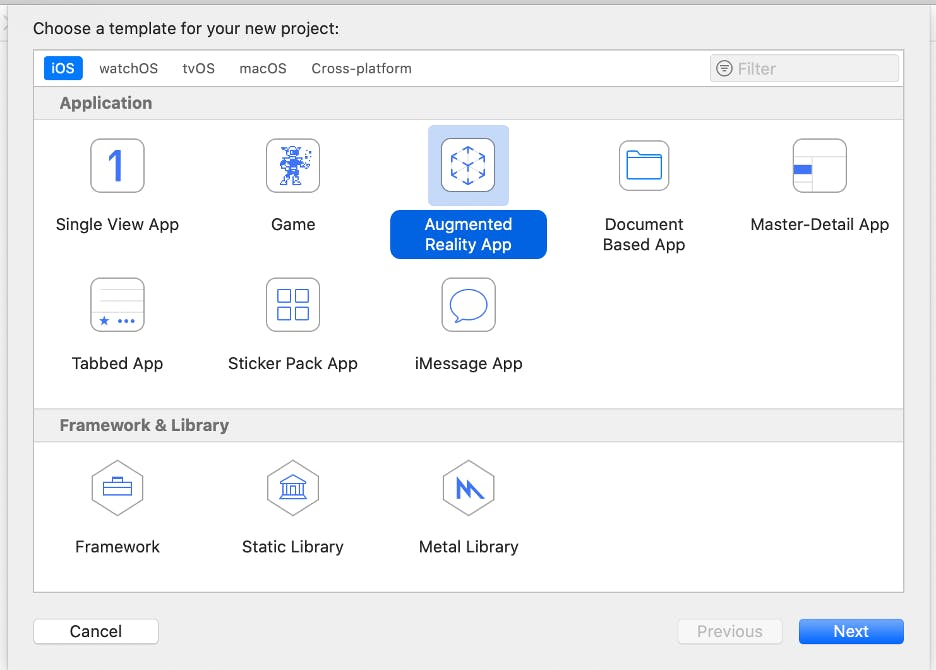
First, open XCode and create a new XCode project. Under templates, make sure to choose Augmented Reality App under iOS.
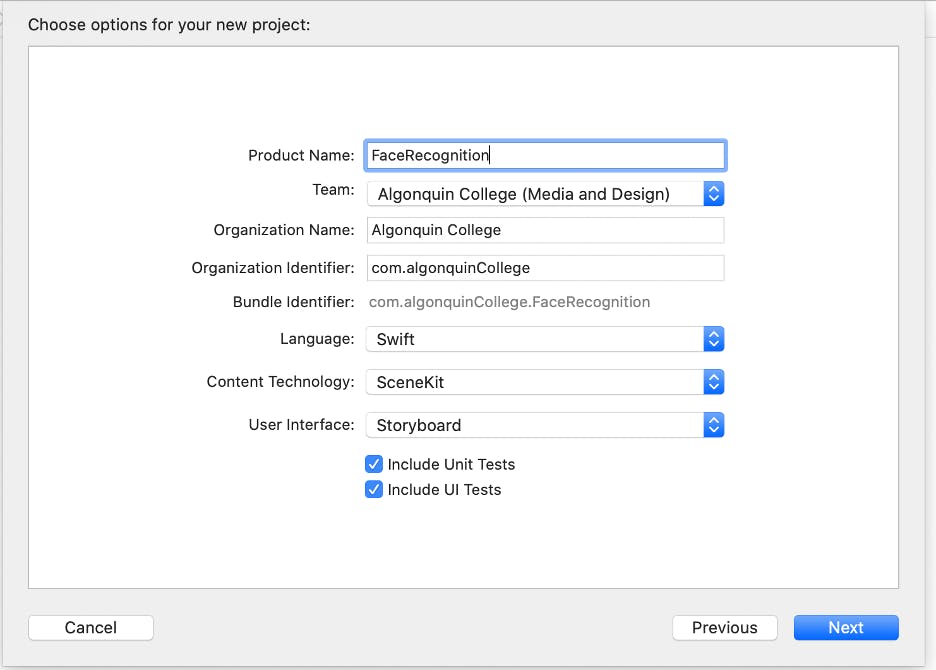
Next, give your application a name. I named mine FaceRecognition. Make sure the language is set to Swift and Content Technology to SceneKit.
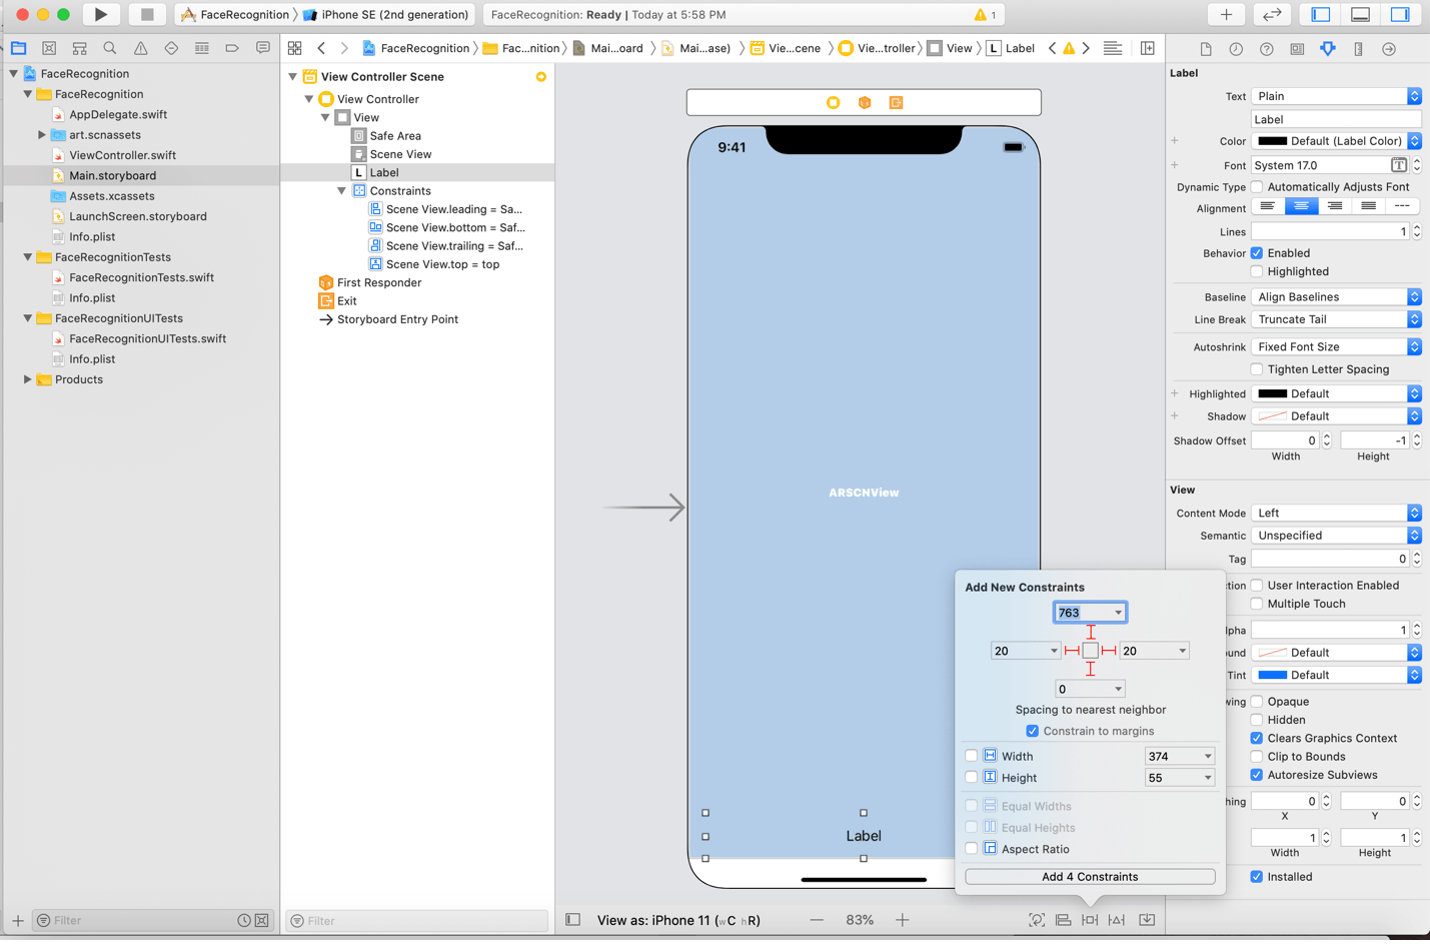
Click on Main.storyboard, there should be a single view with an ARSCNView already connected to an outlet in your code.
Click on the + icon on the top right and find the label from the views. Drag and drop the label on the storyboard near the bottom of the screen.
Select the label and click on add new constrain icon near the bottom and add 4 constraints as shown below.
Once that is done go to ViewController.swift add IBOutlet the label.

Creating a Face Mesh
Let’s start by removing and adding some code to viewDidLoad function.
Remove:-
  // Create a new scene
        let scene = SCNScene(named: "art.scnassets/ship.scn")!

        // Set the scene to the view
        sceneView.scene = scene
Add:-
guard ARFaceTrackingConfiguration.isSupported else {
            fatalError("Face tracking is not supported on this device")
        }
Finally, viewDidLoad function will look like this: -
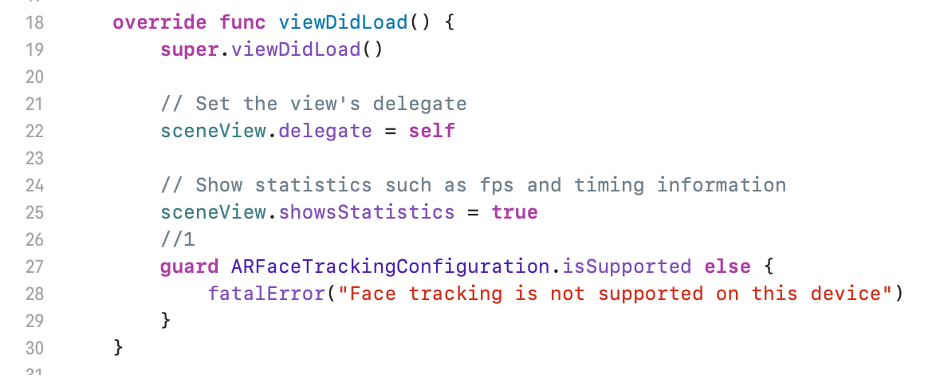
We added a guard statement to check if the device supports the ARFaceTrackingConfiguration. This is the AR tracking setting we will use to create a face mesh. If a device does not support the configuration, then we will show the error message “Face tracking is not supported on this device”.
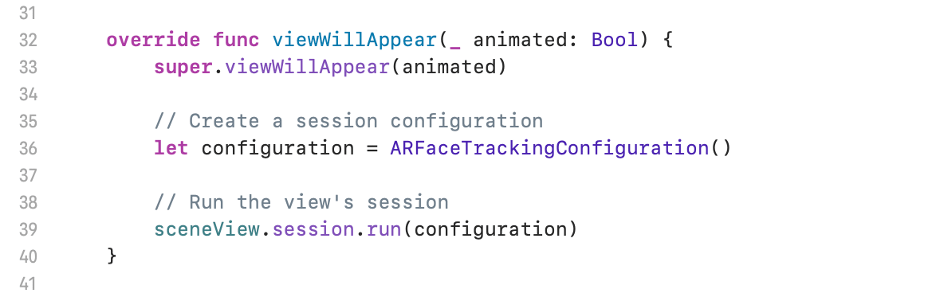
Next step will be changing ARWorldTrackingConfiguration() to ARFaceTrackingConfiguration() in the viewWillAppear function. This will allow the app to track the users’ face when it appears in the view. The function will look like this: -
Next, we need to create a face geometry of the sceneView using ARSCNFaceGeometry (it’s a SceneKit representation of face topology for use with face information that an AR session provides) and set it to the constant faceMesh.
Assign this geometry to SCNNode (A structural element of a scene graph, representing a position and transform in a 3D coordinate space) and set the fillMode to lines.
This function will look like this: -

Updating FaceMask according to your expressions
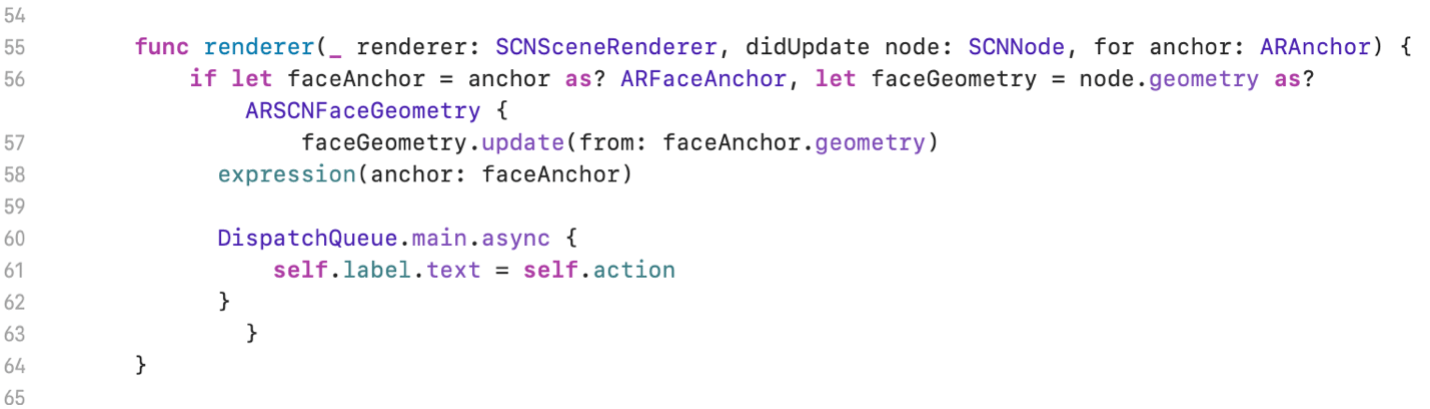
The function we just created will not track expressions, to do so we need the renderer(_didUpdate) function in our code. This will runs every time the sceneView updates.

Tracking the expressions
Create a variable at the top to hold the expression value.
var action = ""
Now let’s create a function to track an expression and display it in our label.

blendShapes is a dictionary of named coefficients representing the detected facial expression in terms of the movement of specific facial features. We are tracking mouthSmileLeft, mouthSmileRight , cheekPuff, tongueOut, jawLeft and eyeSquintLeft.
Next, we will analyze if the probability of the face performing any expression is more than 0.0. if it is then we will assign a msg to our label. Last step is to connect renderer(_didUpdate) and expression function. Now renderer(_didUpdate) will look like this.
Lastly, save it and test it on a device. This example covers only a few expressions you can add as many as you want from the blendShapes library.
Best of Luck!